This Landing Page requires that you have purchased and installed React App Builder.
Install
Download the landing page from your CodeCanyon Downloads.
Extract the zip file.
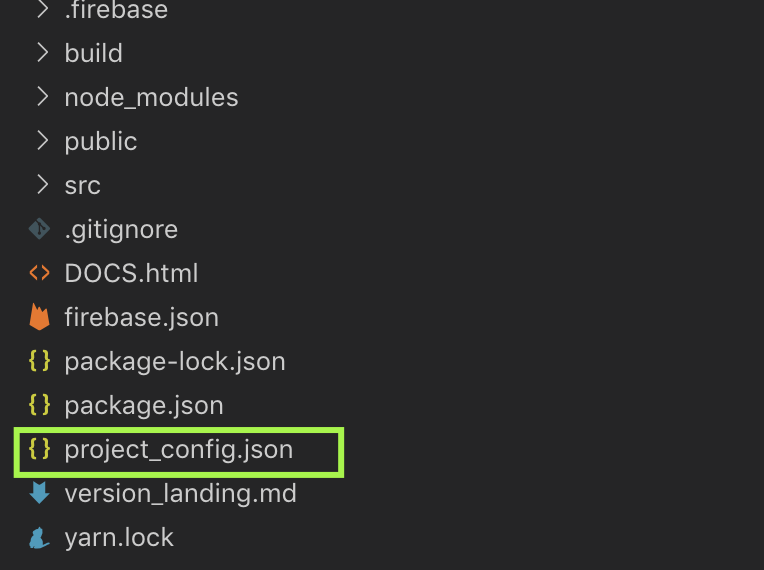
Important: Copy the project_config.json file from your React App Build installation to your Landing Page.
Open the folder in VS Code.
The folder structure should look like this
Open a terminal and execute
rab
You should see the menu now
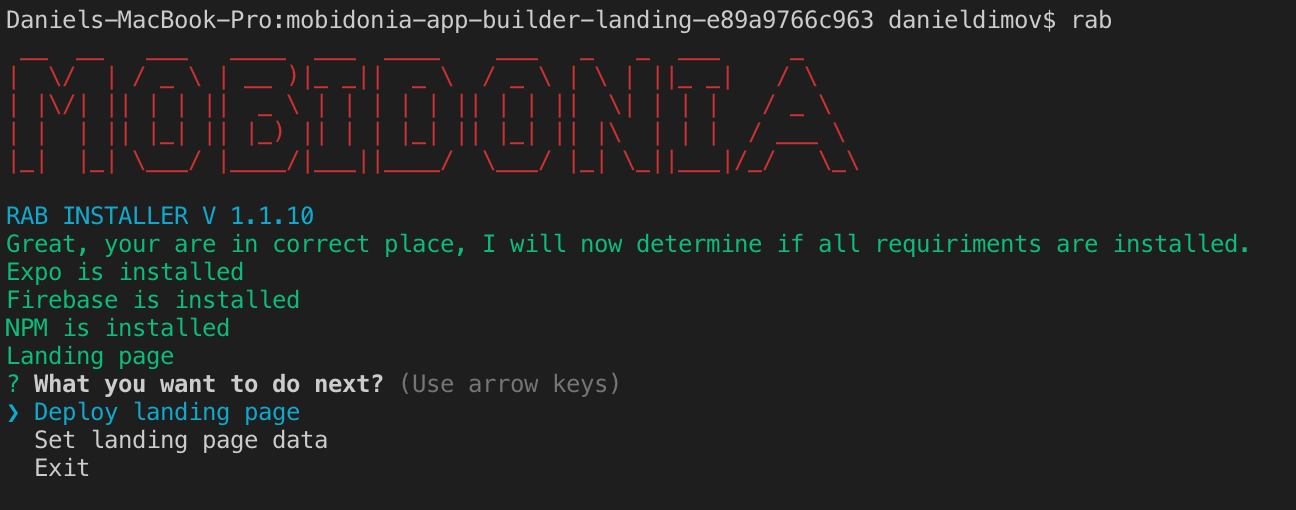
Deploy
Select the Deploy landing page option from the menu
This will start the following actions
- Install node modules
- Ask you where you want to host
- If on Firebase or on own hosting, it will build the project
Firebase Hosting ( Recommended )
It is the easiest option. It will build your project, and upload it to Firebase Hosting. In the end, the console will display your Hosting URL.
IMPORTANT
You will need to create additional site in Firebase Hosting, specialy for your landing page.
It is easy, go in your Firebase Project -> Hosting and add a new site.
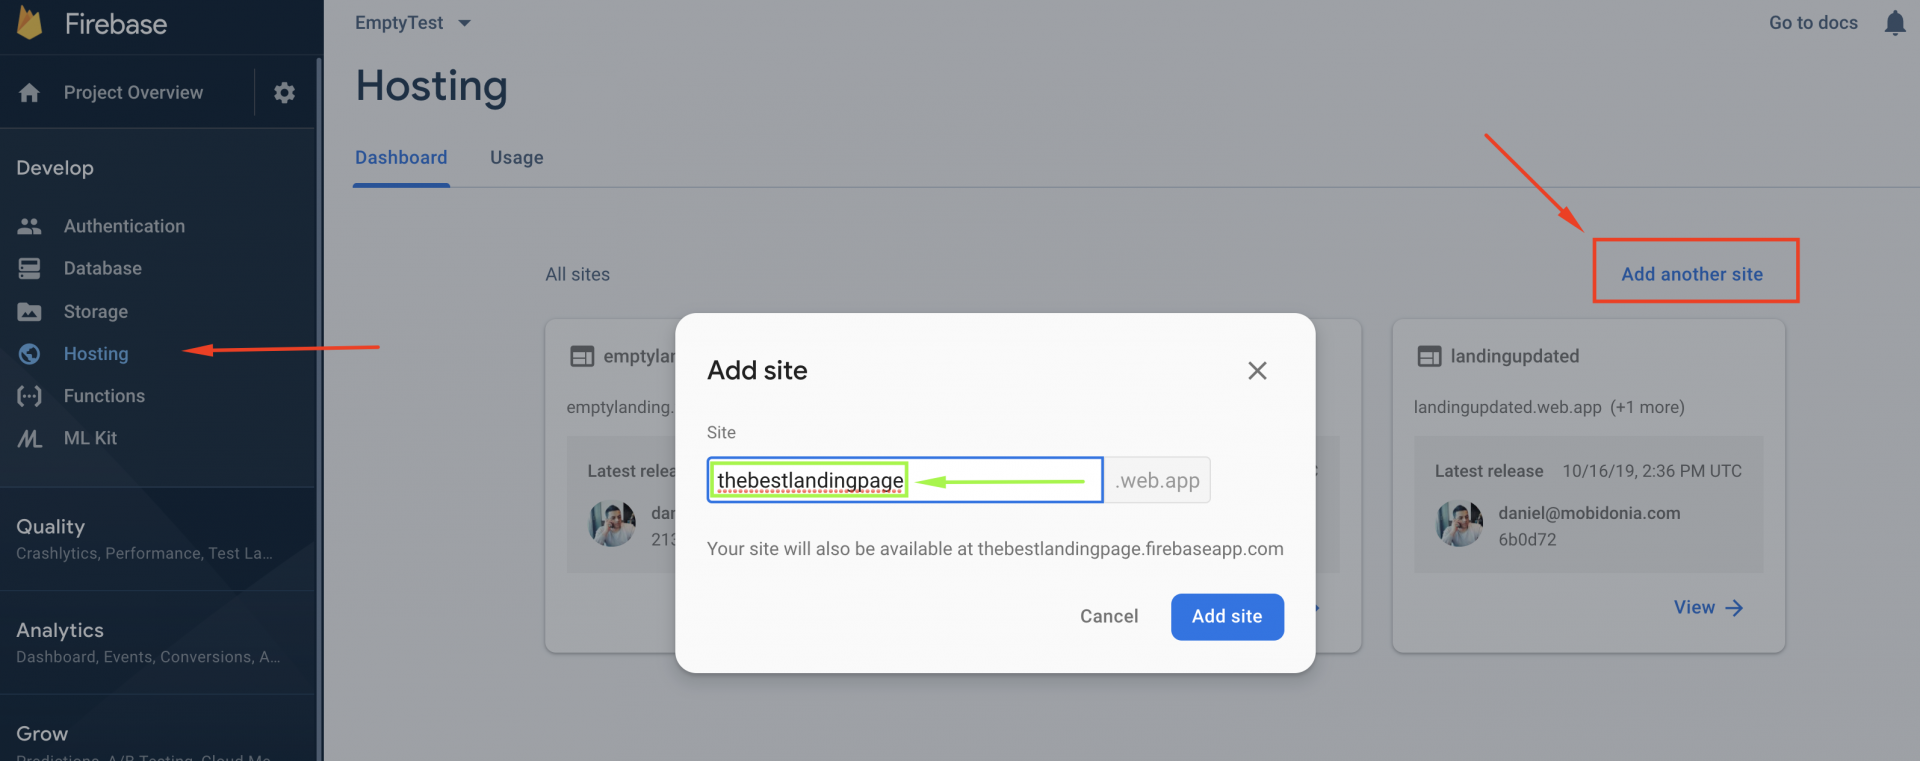
Remember the name
The CLI will ask for it. Enter that name and your landing will be uploaded there.
Netlify
To publish your project on Netlify, easiest way will be to create your own private repo of this project on Bitbucket or GitHub. And add that repo in Netlify.

The good thing about Netlify is that when there is an update, you will just commit the change, and Netlify will build the project automatically for you. It is free and fast.
My own hosting
If you have your own hosting, you can use it to host your landing page. This script will create the build folder locally. You will need to upload the content on hosting.
Important: The Landing page can't be hosted in a subfolder. It can be hosted directly in a domain or any subdomain.
Insert Demo Data
Open your Landing page URL. If it doesn't display any info, you need to run the second step
Set landing page data
This will set landing page demo data.
Manage the Landing Page
You will want to configure the Landing Page. And that can be done if you log in into App Builder with your admin email and password. Under your name/icon you will have the options "Settings"
I have Landing Page from the previous v11 RAB
Then first follow these instructions, and then come back here and continue the installation.
]]>