
Authentication is optional in all apps, except in Users app when is required.
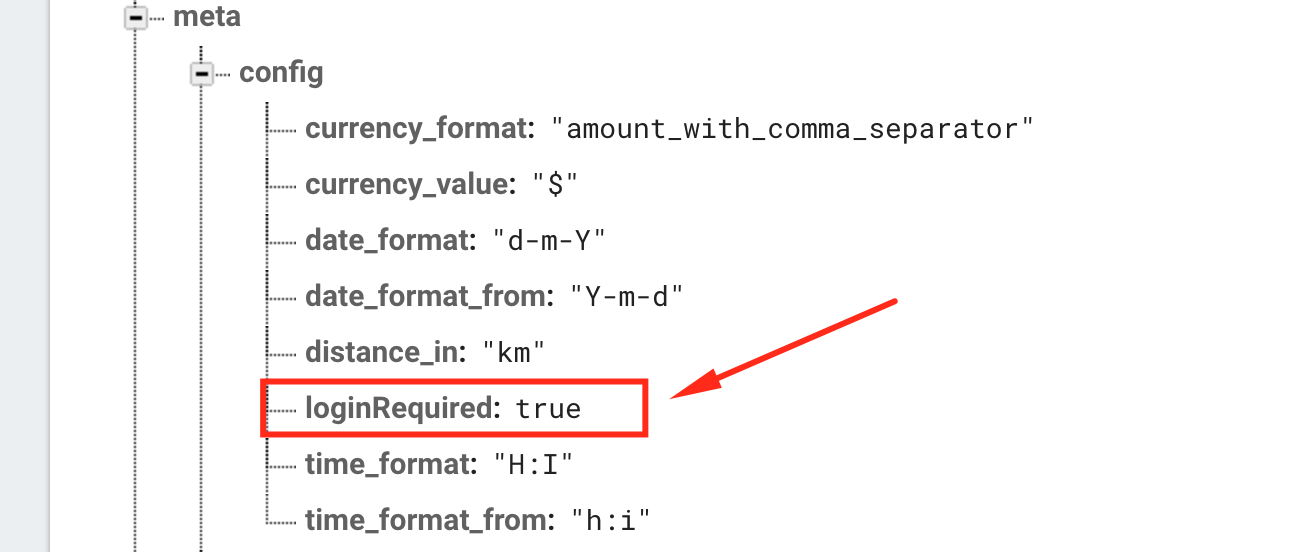
First of all if you want to have login and signup screens in your app, you have to set it up first in your firebase realtime database.
In meta -> config you have to add loginRequired: true, just look at the screenshot below.
Facebook and Google login
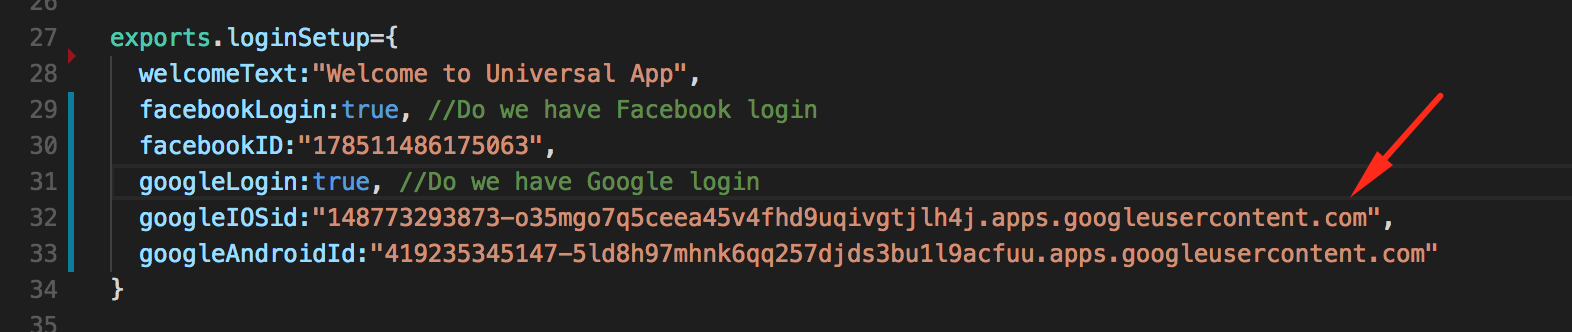
After the login setup you can add in your app facebook and google+ login. This option you can set up from the downloaded project, just open and you will find config.js. Around line 27 you will find exports.loginSetup, there you can customize your welcome text, facebook and google login.

Set up facebook login
First you have to turn facebookLogin:true, and after that you should make your facebook app id.
- https://developers.facebook.com/apps create your facebook app.
- When the app is created then go to settings and scroll to the bottom, now you will see add platform button. Just add iOS and Android.
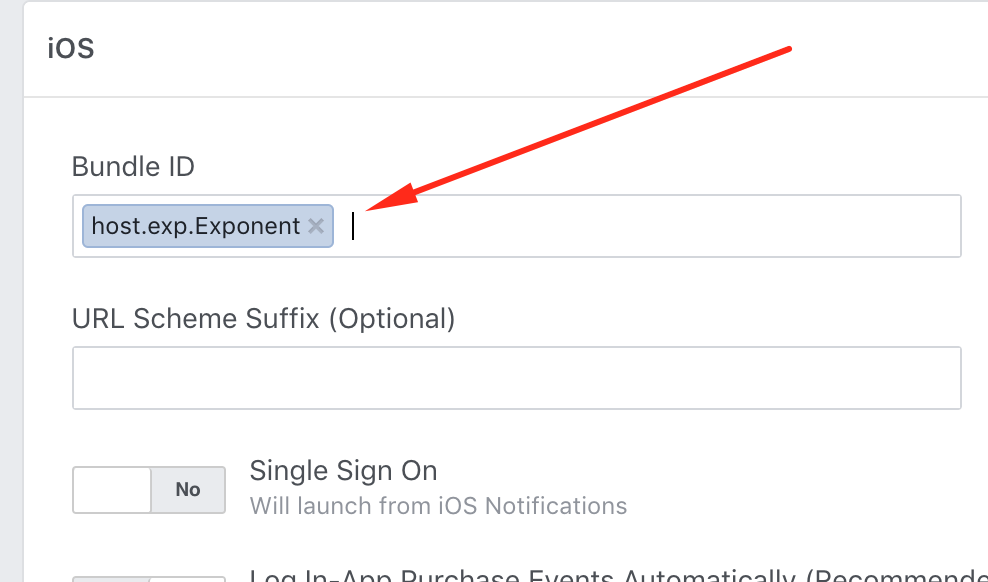
- For iOS in the BundleID just add host.exp.Exponent, look at the picture below.
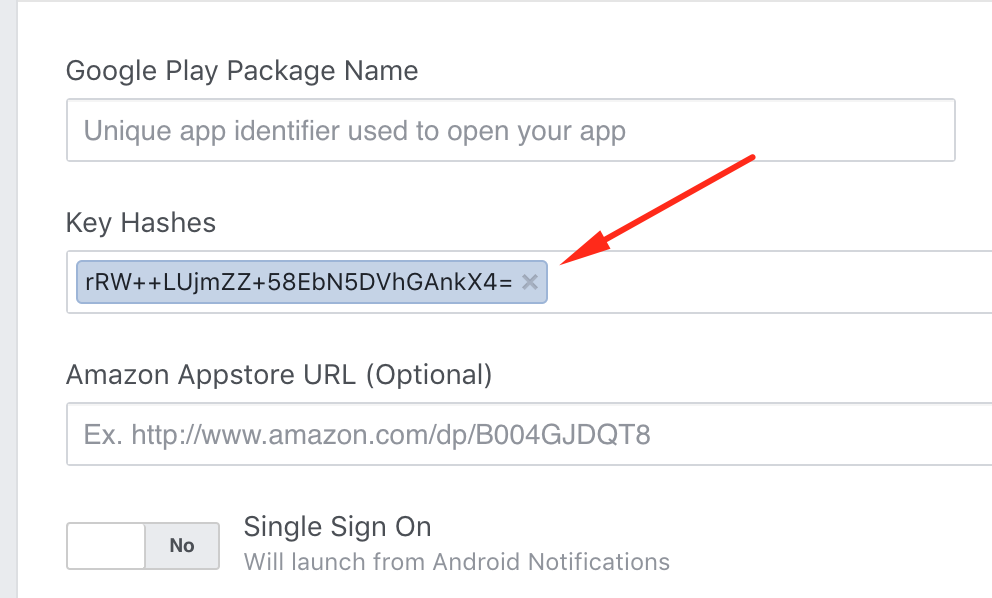
- For Android in the Key Hashes just add rRW++LUjmZZ+58EbN5DVhGAnkX4= , look at the picture below.
- On the top of https://developers.facebook.com/apps you should see your APP ID, copy the id and replace the current facebookID in config.js in the downloaded project with your APP ID.

Set up Google login
First you have to turn googleLogin:true, and after that you should make your google ids.
Get an app set up on the Google Developer Console
- Go to the Credentials Page
- Create an app for your project if you haven't already.
- Once that's done, click "Create Credentials" and then "OAuth client ID." You will be prompted to set the product name on the consent screen, go ahead and do that.
Create an iOS OAuth Client ID
- Select "iOS Application" as the Application Type. Give it a name if you want (e.g. "iOS Development").
- Use host.exp.exponent as the bundle identifier.
- Click "Create"
- You will now see a modal with the client ID.
- The client ID that in iosClientId, copy and replace it into config.js file. Look at the picture below.
Create an Android OAuth Client ID
- Select "Android Application" as the Application Type. Give it a name if you want (maybe "Android Development").
- Run openssl rand -base64 32 | openssl sha1 -c in your terminal, it will output a string that looks like A1:B2:C3 but longer. Copy the output to your clipboard.
- Paste the output from the previous step into the "Signing-certificate fingerprint" text field.
- Use host.exp.exponent as the "Package name".
- Click "Create"
- You will now see a modal with the Client ID
- The client ID that is in androidClientId, copy the id and replace it into config.js file. Look at the picture below.

Profile screen style
After that, there are two types of profile screens, you will decided which one fits more to your app design.
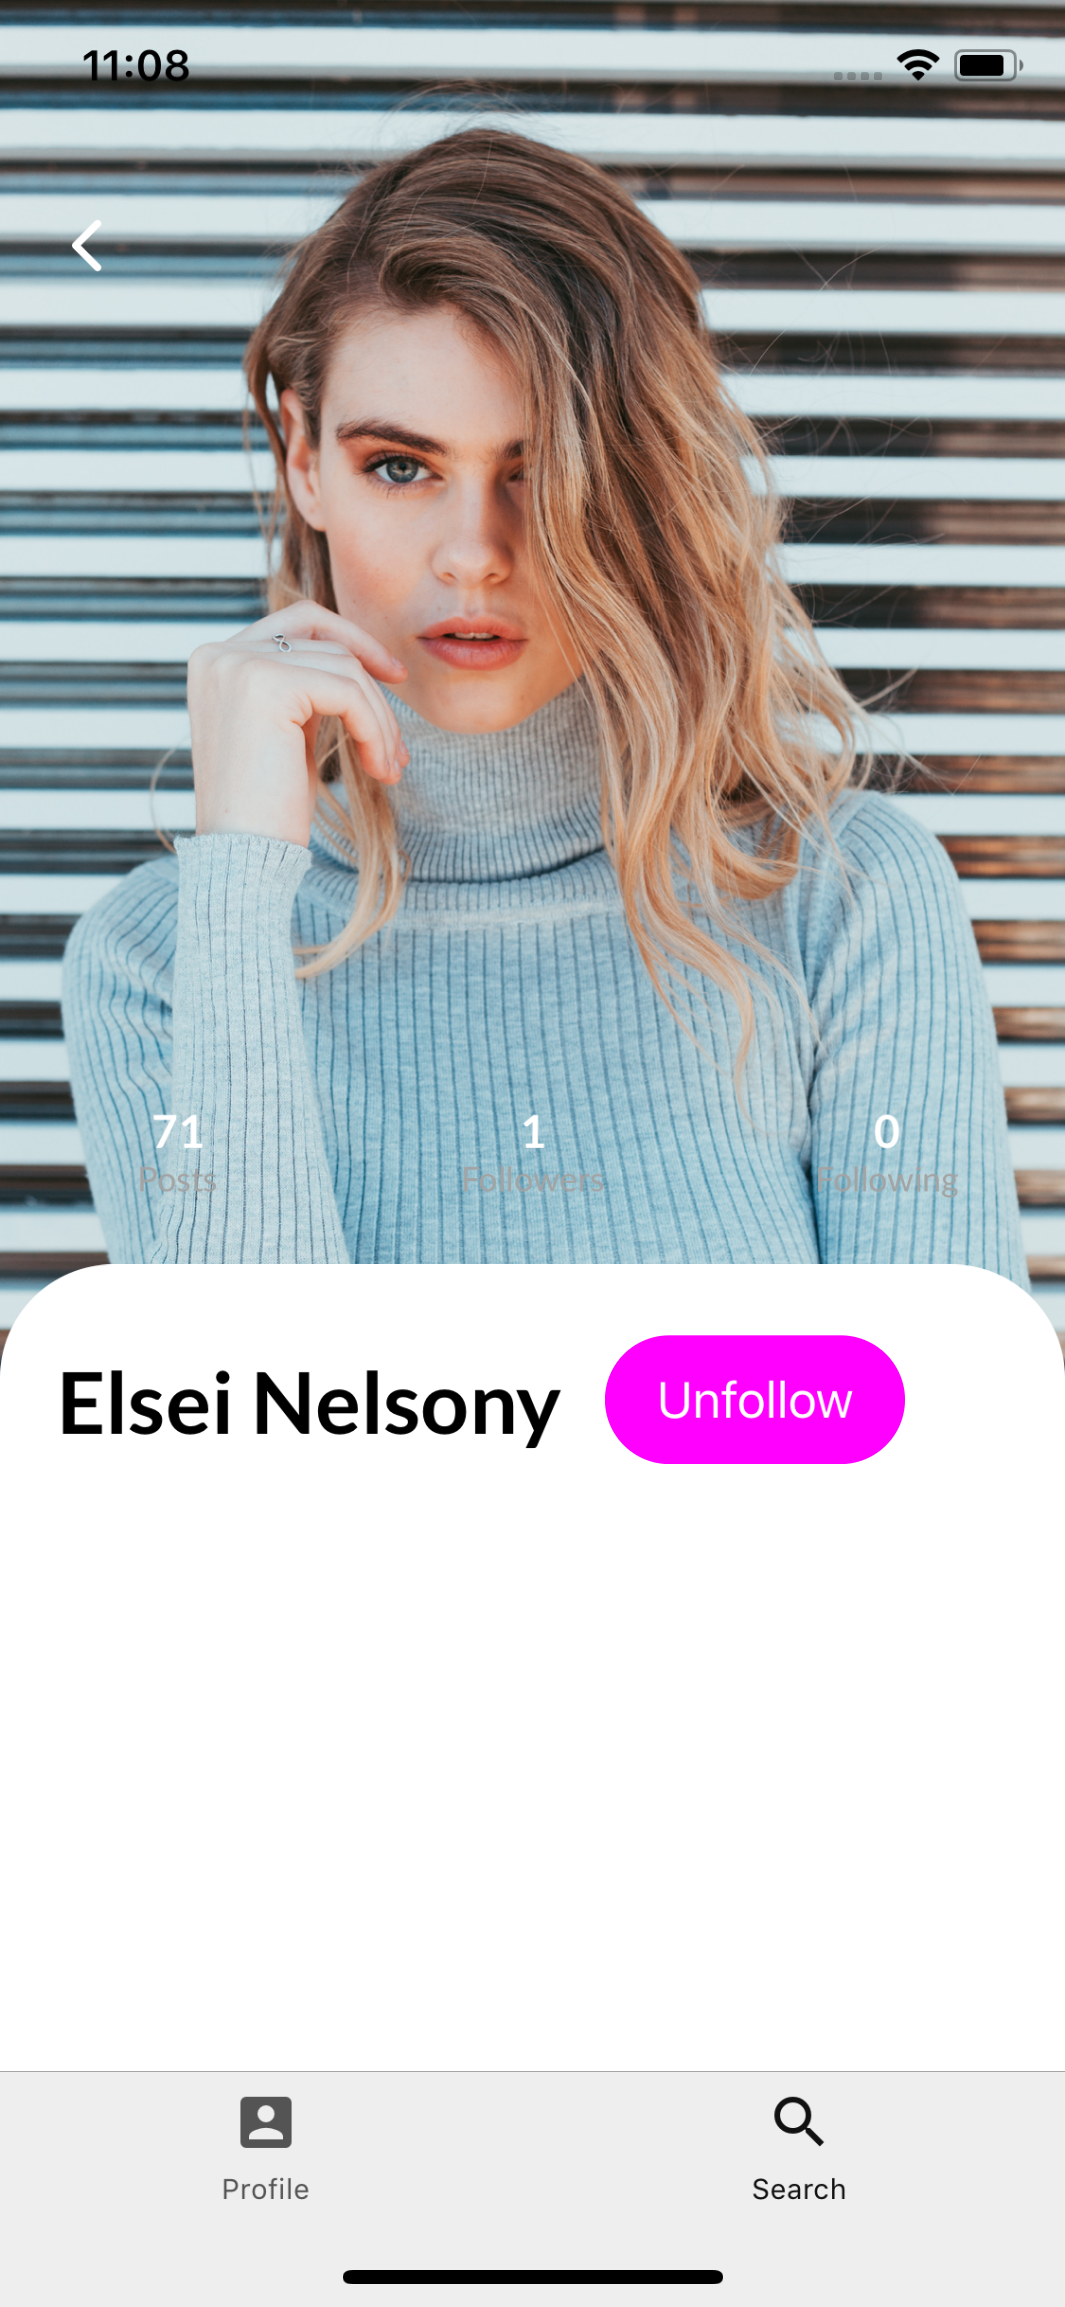
This is ProfileOption1
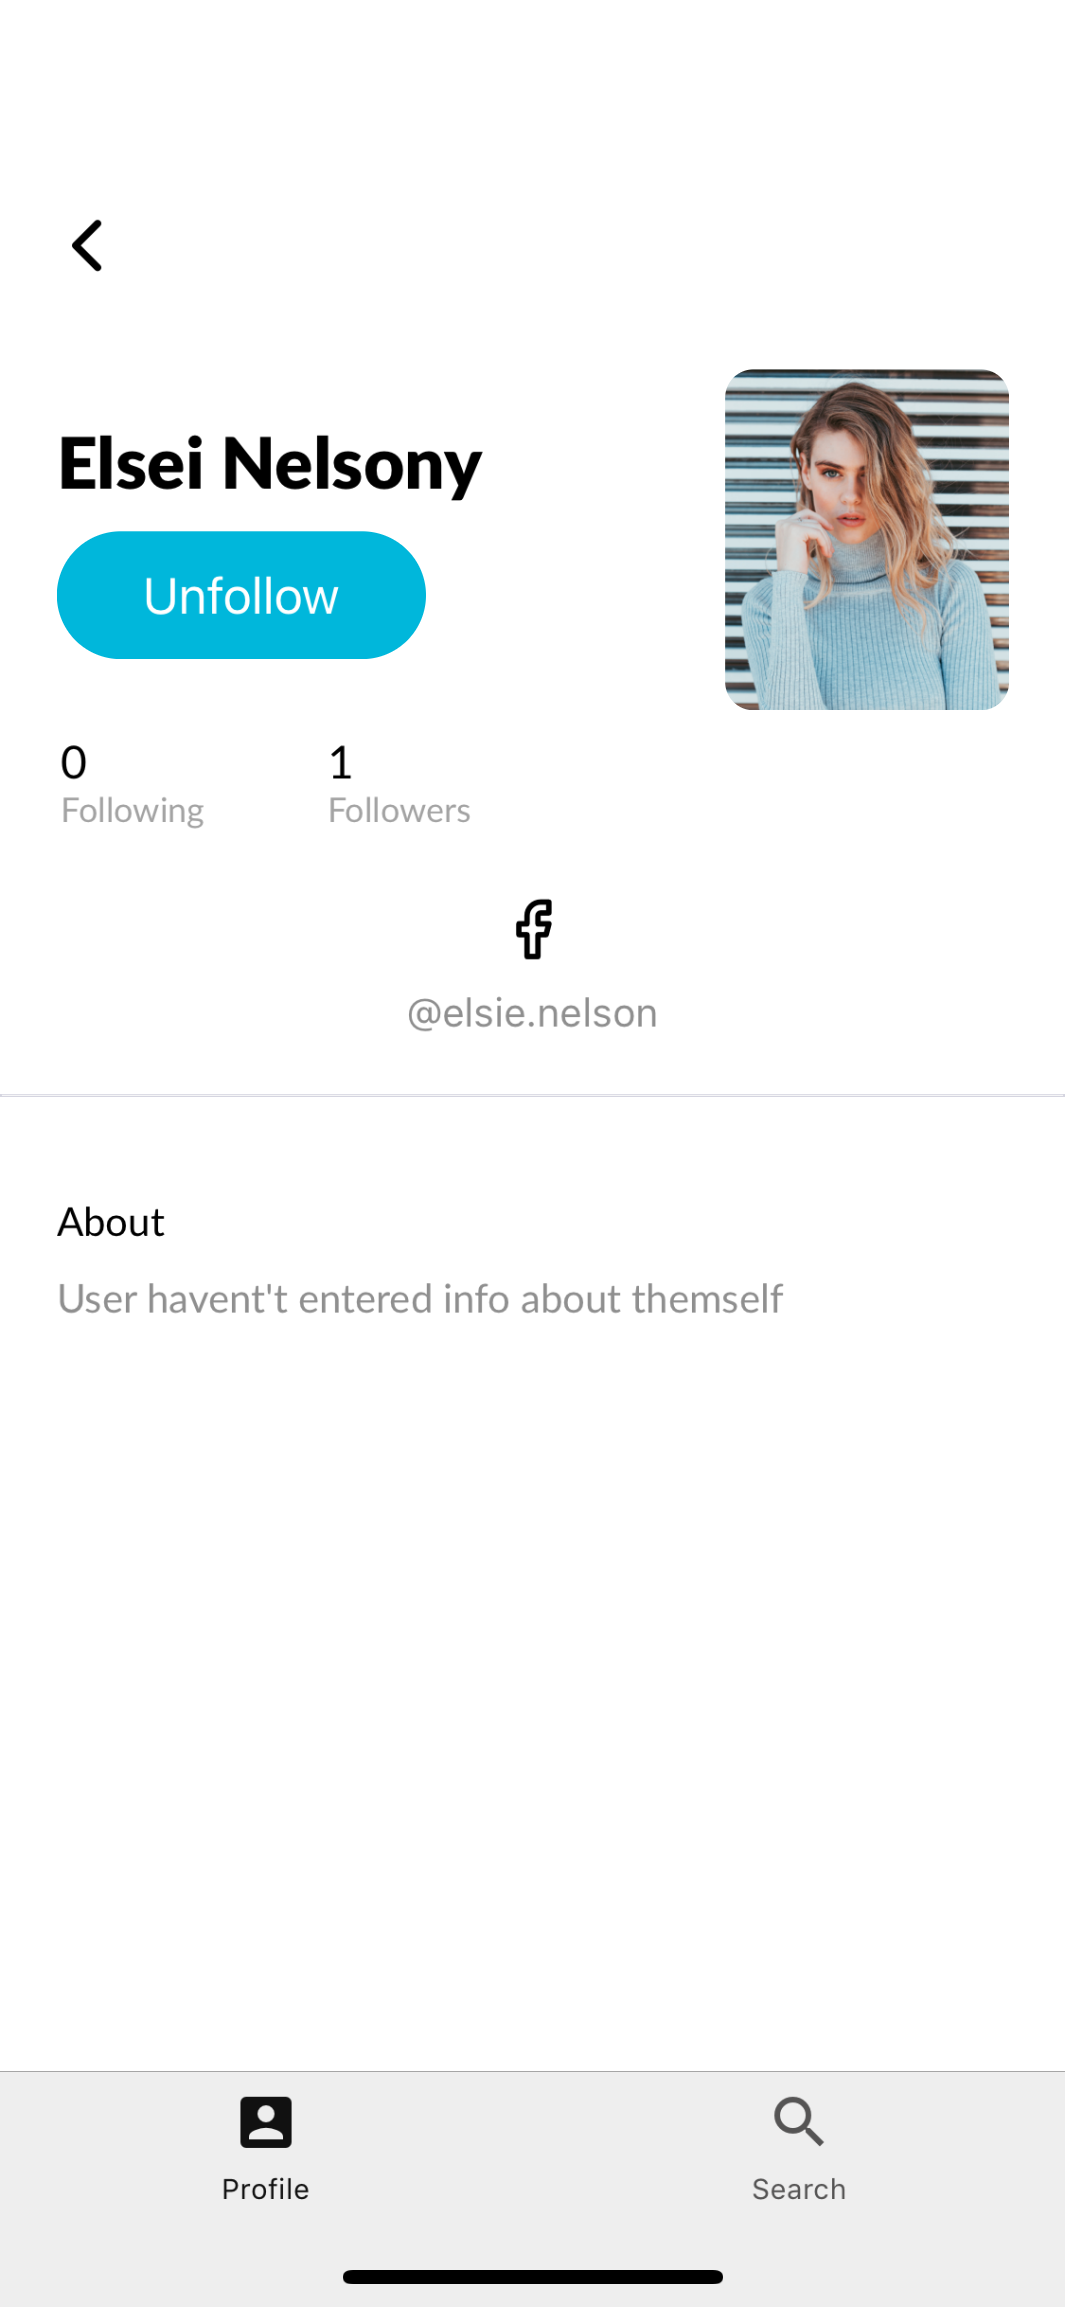
This is ProfileOption2
- When you will decided which one you will use please open again config.js file, around line 41 you will see exports.profileScreen='ProfileOption2', so choose which one you like more.

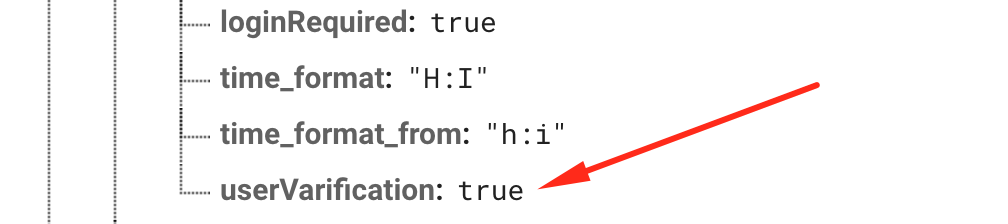
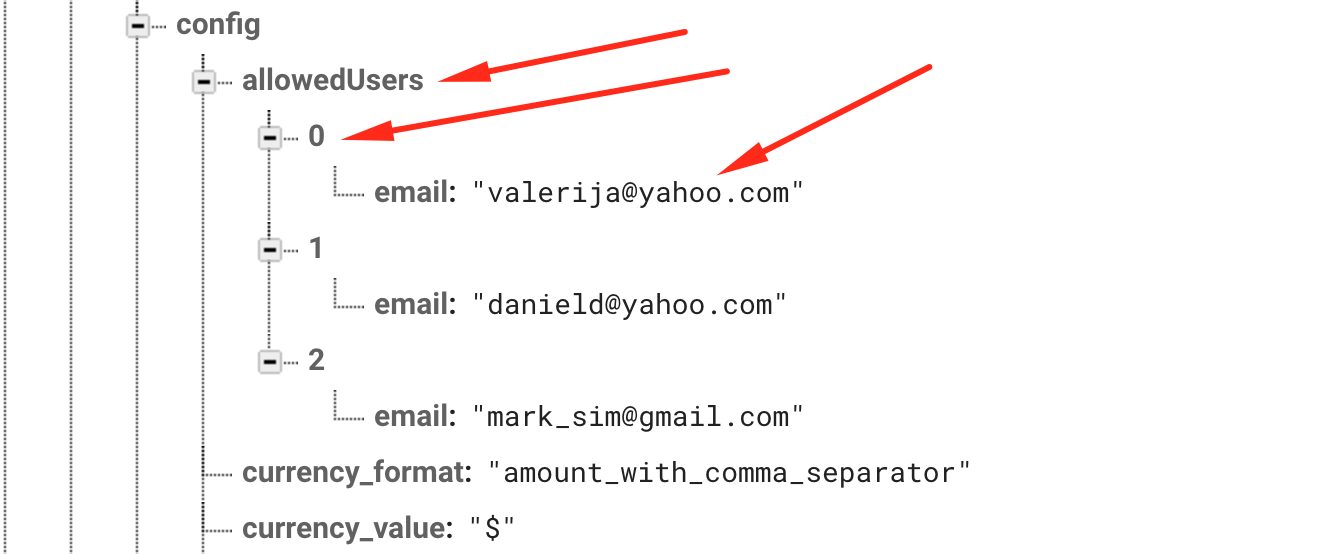
How to add allowed users
If you want to limit which accounts will have the access to use the application all you have to do is to follow this two simple steps.
Step 1. All you have to do is to add array in your meta -> config called allowedUsers. The format should be like the picture below.
Step 2. Add field in the same place ( meta-> config) that must be called userVarification and set this field to true, just like in the picture below.